2D Vehicles: Building Motion from Forces and Torque
 by ahsan
October 11, 2026
6 min read
by ahsan
October 11, 2026
6 min read
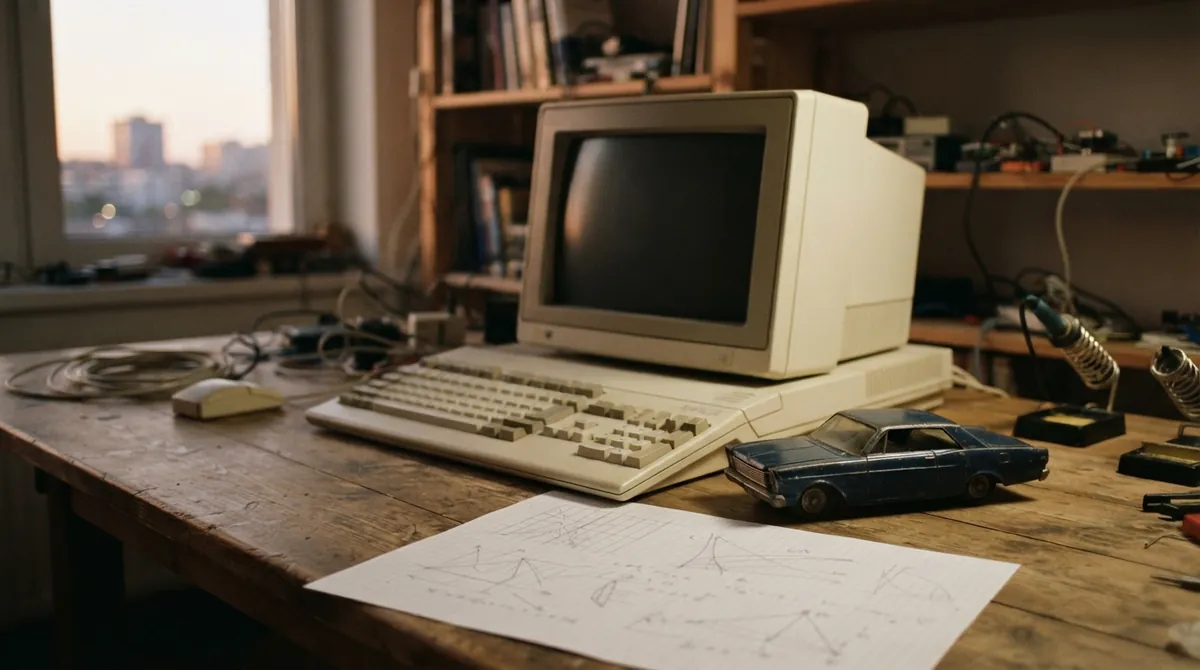
A car in a game can look perfectly drawn and still feel like a cardboard cutout. The giveaway is what happens at the edges: it slides sideways with no resistance, rotates from the wrong corner, or hits a wall and spins for no good reason. How do you build 2D vehicle physics that feels alive without writing an entire automotive research project? Start with one solid body, a few carefully applied forces, and a simulation that gives each calculation a fair chance.
That is the charm of a project that began over a weekend in late August 1996. A small wireframe experiment written in GFA BASIC, a BASIC dialect, on an Atari ST home computer eventually became the foundation for a vehicle system used in the Grand Theft Auto project. Three decades later, the idea was recreated in JavaScript so it could run in a browser, where the old experiment could be felt rather than remembered as a diagram. (patkerr.co.uk)
Begin with a body, not a car
The first useful abstraction is a rigid body: a mathematical model of an object that moves as one solid piece. It has a position, a velocity, an angle, and an angular velocity, which is the rate at which it rotates. It also has mass and rotational inertia, meaning how strongly it resists changes to its spinning motion.
A point-mass simulation usually starts with Newton's familiar equation, F = ma. Apply a force and the object accelerates. That handles sliding, but it does not explain why pushing the nose of a car makes the car turn. For that, we need torque, the turning effect produced by a force.
Torque depends on two things: the strength of the force and its distance from the body's centre. That distance is called the lever arm. A force through the centre creates movement without rotation. The same force applied near a corner also creates a twist.
for (const force of forces) {
 const leverArm = force.point.sub(body.position);
 body.force.add(force.value);
 body.torque += cross(leverArm, force.value);
}

body.velocity += body.force.scale(invMass * dt);
body.angularVelocity += body.torque * invInertia * dt;
body.position += body.velocity.scale(dt);
body.angle += body.angularVelocity * dt;
This is a compact version of the important idea. Gather the forces, gather the torque, update the body's motion, then move it forward. The body does not need to know whether it belongs to a brick, a spaceship, or a car. That decision can live somewhere else.
Time needs a steady rhythm
A browser may draw one frame in 12 milliseconds and the next in 25. If the physics uses those changing frame lengths directly, the vehicle can feel different on different machines. A fixed time step avoids that problem by advancing the simulation in equal slices, such as 1/60 of a second, even when drawing takes longer or shorter.
The browser interface, simulation, and renderer can then stay separate. Controls produce input, the physics advances the world, and the Canvas renderer—a browser drawing surface—shows the latest state.
accumulator += frameSeconds;

while (accumulator >= fixedStep) {
 vehicle.applyControls(input);
 vehicle.step(fixedStep);
 accumulator -= fixedStep;
}

renderer.draw(vehicle);
This separation makes debugging much less mysterious. When a vehicle behaves badly, you can inspect whether the input was wrong, the force was wrong, or the drawing was only making a correct state look strange.
Add vehicle behaviour as a separate layer
Once the rigid body works, a vehicle becomes a collection of smaller ideas rather than a second physics engine. One object can describe the shell: its outline, local points, and collision shape. Another object can describe its behaviour.
A brick might accept a force from a pointer drag. A ship might apply thrust at a point behind its centre, causing both acceleration and rotation. A car might apply engine force at the driven wheels, steering forces at the front wheels, and resistance at all four tyre positions. Switching between these modes can replace the shell and behaviour while preserving the same position, velocity, and angle. (patkerr.co.uk)
This is a useful design lesson beyond vehicle games. Keep the general machinery general. Put the unusual rules in small behaviour modules, where you can change them without risking the rest of the simulation.
Tyres do not need to be perfect to be convincing
The car's most important trick is also its least realistic one. At each tyre, measure the velocity of that particular point on the body. A rotating car means the front-left tyre and rear-right tyre do not necessarily move in the same direction, even when the chassis has one overall velocity.
Resolve each tyre's velocity into two parts: forward motion along the wheel's heading and sideways motion across it. A dot product performs that projection by measuring how much a velocity points in a chosen direction.
const forwardSpeed = dot(pointVelocity, wheelForward);
const sideSpeed = dot(pointVelocity, wheelSide);

applyForceAtPoint(
 wheelForward.scale(-rollDrag * forwardSpeed),
 tyrePosition
);

applyForceAtPoint(
 wheelSide.scale(-sideGrip * sideSpeed),
 tyrePosition
);
The rolling resistance can be modest, while the sideways resistance is much stronger. Steering changes the heading of the front wheels, so their sideways forces begin turning the body. A handbrake can increase rear rolling resistance while reducing rear sideways grip, making the back of the car easier to swing around.
This is damping, a force that removes motion in proportion to speed, rather than a complete model of rubber, road friction, tyre slip, and grip limits. The forces are not capped by a realistic maximum. That would be inaccurate in a laboratory, but it is wonderfully economical in a game. The car resists sliding in the direction players expect, and that is enough to create a readable sense of control. (patkerr.co.uk)
Walls should react to the body, not a random corner
A bounded playfield does not require a full collision engine. When part of the shape crosses an edge, move it back inside. Then calculate the velocity at the contact point and apply an impulse, a short-lived change caused by the collision, only when that point is moving into the barrier.
The contact location matters. If a flat side touches a wall, choosing one corner can introduce an artificial spin. Using the midpoint of the points touching the wall better represents the impact and avoids making the vehicle rotate for a reason the player cannot see. Because the contact may be away from the centre, the same collision can change both linear velocity and angular velocity.
The camera completes the illusion
Physics determines where the vehicle is, but the camera determines how that movement feels. A dead zone lets the car travel a little before the camera follows, reducing constant screen movement. A speed-related zoom can pull the view back as the vehicle accelerates, giving fast motion room to breathe.
Those details do not make the equations more accurate. They make the result easier to read. That distinction matters: a believable vehicle is partly a mechanics problem and partly a presentation problem.
The enduring lesson from this 2D vehicle physics experiment is not that a clever tyre formula can replace engineering. It is that a small, well-separated model can produce rich behaviour. Start with a trustworthy rigid body, apply forces where they belong, advance it at a steady rhythm, and let directional resistance give the wheels a personality. A brick, a ship, and a car can then emerge from the same moving body—each with its own rules, but none needing to pretend that the whole world is more complicated than it is.
Comments (0)
No comments yet. Be the first to respond!
Leave a Comment
Your comment will be visible after review.