Eclipse Webcams in 2026: Building a Live Map That Doesn’t Break
 by ahsan
August 12, 2026
6 min read
by ahsan
August 12, 2026
6 min read
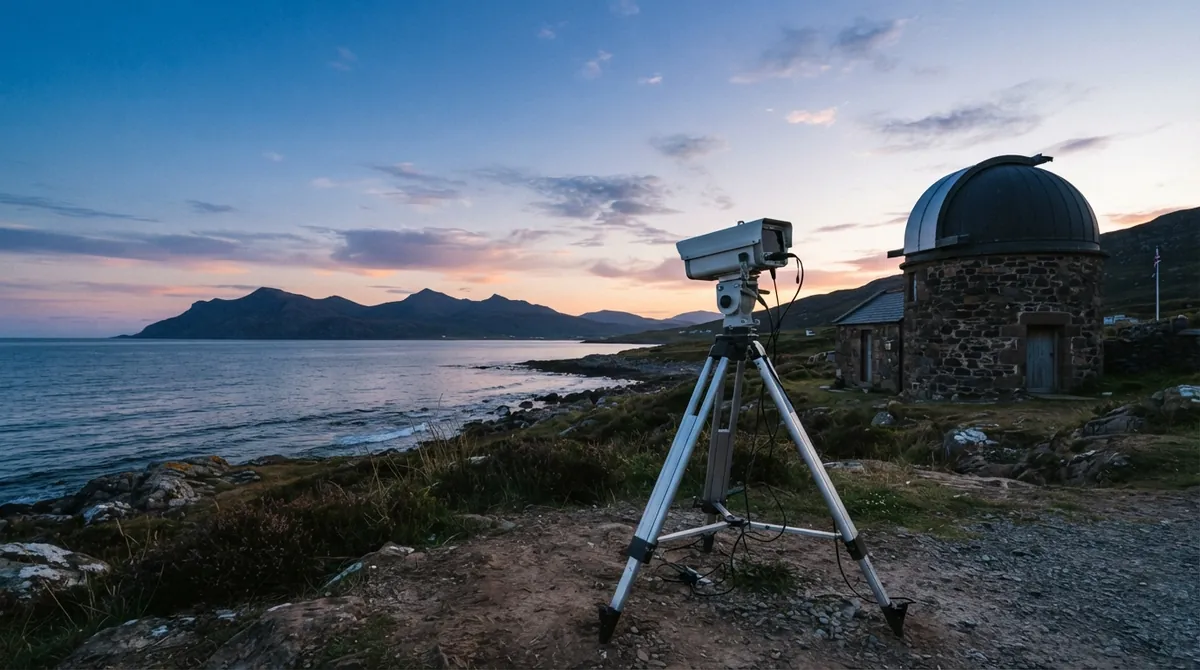
Picture this: it’s the day of the 2026 eclipse, and everyone’s doing the same thing at once. The official broadcasts are busy, the “best spots” posts are already outdated, and the only way to learn what’s happening at distant locations is to hunt for live webcams—fast.
That’s exactly where an “eclipse webcam map” idea makes sense. Instead of ten separate tabs, you get one place where cameras are pinned to the real world. Then a click brings up the stream. Behind that calm interface, though, there are plenty of moving parts: map tiles, coordinates, live video protocols, buffering, and the all-important “don’t freeze during totality” mindset.
Let’s walk through how such a system works and how you could build a version of it.
The core problem: live video meets real-time geography
An eclipse is time-critical. A webcam is also time-critical. Combine them and you end up dealing with two kinds of “timing.”
1) Spatial timing: where is each camera?
- Cameras need latitude and longitude (numbers that pinpoint a location on Earth). Latitude is how far north/south; longitude is how far east/west.
2) Stream timing: will the video still play when you need it?
- Live video isn’t a single universal format. The most reliable approach is usually to convert whatever the camera produces into a web-friendly streaming format.
When you see a nice map of eclipse webcams, what you’re really seeing is a small web app that joins those two timelines: location metadata + live stream URLs.
Why do live streams freeze right when the eclipse turns “total”?
This is the question that every builder ends up asking, usually seconds before the good part.
A few common causes:
- Buffer underruns: the player runs out of data and stalls.
- Rate limiting: a public stream server might throttle too many viewers.
- Bad embedding: the stream URL works in a browser one minute before, then the player fails because of codec support or CORS (CORS is a browser security rule that restricts cross-site requests).
- Network jitter: Wi‑Fi and mobile networks fluctuate; live streams are sensitive to that.
The good news: you can design around most of these failures.
Step 1: Store webcam metadata in a simple, scalable format
The most beginner-friendly way to start is a plain JSON file (JSON is a text format for structured data like arrays of objects).
A camera entry typically needs:
- id: a stable identifier
- name: human-readable label
- lat / lon: coordinates
- stream: where the live video comes from
Example cameras.json:
[
 {
 "id": "cam-aster",
 "name": "Ridge View Cam",
 "lat": 43.360,
 "lon": -5.862,
 "stream": {
 "type": "hls",
 "url": "https://cdn.example.com/cam-aster/stream.m3u8"
 }
 },
 {
 "id": "cam-coast",
 "name": "Coastline Observatory",
 "lat": 43.462,
 "lon": -4.635,
 "stream": {
 "type": "hls",
 "url": "https://cdn.example.com/cam-coast/stream.m3u8"
 }
 }
]
Why HLS is a common choice
HLS stands for HTTP Live Streaming. It breaks video into small chunks served over regular web requests.
- The
.m3u8file is a playlist that tells the player which chunks to fetch. - The main benefit: it works well with browser video playback patterns and CDN caching.
There are other options (notably WebRTC, which is built for low-latency interactive media), but for a map of many cameras, HLS is often the pragmatic default.
Step 2: Put the cameras on a map with Leaflet
A library like Leaflet (a JavaScript library for interactive web maps) turns geographic coordinates into clickable markers.
The map itself usually uses map tiles—small image squares fetched on demand from a provider like OpenStreetMap. Leaflet stitches those tiles together into one scrolling map.
In Leaflet, a marker is just a point on the map at [lat, lon].
Minimal marker logic (conceptual)
<div id="map" style="height: 500px;"></div>
<div id="player"></div>
<script src="https://unpkg.com/leaflet/dist/leaflet.js"></script>
<script>
 const map = L.map('map').setView([43.3, -5.0], 7);

 // (Tile layer setup omitted for brevity.)

 fetch('cameras.json')
.then(r => r.json())
.then(cams => {
 cams.forEach(cam => {
 const marker = L.marker([cam.lat, cam.lon]).addTo(map);
 marker.on('click', () => showCamera(cam));
 });
 });

 function showCamera(cam) {
 // Replace this with a real video element.
 document.getElementById('player').textContent = `Selected: ${cam.name}`;
 }
</script>
That’s the “happy path.” The real work is what happens inside showCamera.
Step 3: Embed the live stream in a reliable way
Browsers don’t always play HLS natively. A common helper is hls.js.
hls.js is a library that reads an HLS .m3u8 playlist and feeds the chunks to a normal HTML <video> element.
Example (HLS embedding):
<video id="video" controls autoplay muted playsinline></video>
<script src="https://unpkg.com/hls.js@latest/dist/hls.min.js"></script>
<script>
 const video = document.getElementById('video');

 function playHls(url) {
 if (Hls.isSupported()) {
 const hls = new Hls({ maxBufferLength: 30 });
 hls.loadSource(url);
 hls.attachMedia(video);
 } else {
 // Some browsers can play HLS directly.
 video.src = url;
 }
 }
</script>
Small reliability tricks that matter
- Autoplay + muted: most browsers block autoplay with sound.
- Limit buffer (
maxBufferLength): prevents runaway memory use. - Swap players on click: create a new HLS instance per camera selection so old streams don’t keep running.
Step 4: Add health checks and fallback behavior
A map full of dead streams is worse than no map at all. The fix is to separate “camera exists” from “camera is currently healthy.”
Two practical patterns:
1) Periodic health probing
- Your backend (or a scheduled job) can fetch the playlist URL and record whether it looks playable.
- Then your JSON includes a status field like live, degraded, or offline.
2) Snapshot fallback
- Many cameras can provide a last frame or periodic JPEG snapshot.
- When the stream fails, show the most recent snapshot so viewers see something.
This is how you avoid the awful moment where a click results in a blank player.
Step 5: Show eclipse timing without inventing astronomy
People want “totality begins in…” at the location they clicked.
At a technical level, that means:
- Your app needs the eclipse’s key timestamps (usually in UTC).
- Then it converts those into the viewer’s local time zone.
For beginners, the tricky part is time zones. JavaScript Date objects can be confusing because they mix local time display with UTC calculations.
A safer approach is:
- Keep all eclipse event times in UTC in your data
- Convert only for display
When this is done right, the user experience feels magical: click a camera, and the interface reads the sky’s schedule for that place.
Bringing it together: an end-to-end mental model
Here’s the architecture in one breath:
- A
cameras.jsonfile holds webcam locations and stream URLs. - Leaflet renders markers using
lat/lon. - Clicking a marker loads the stream in a video player.
- Background checks mark cameras as live/offline.
- Optional: event timing is computed or fetched and shown alongside the stream.
And the reason this works is that each piece is replaceable. Streams can be different formats. Map tiles can change. Even the player can swap from native playback to hls.js without changing the rest of the app.
Closing thought: good eclipse webcams are half engineering, half planning
The best eclipse webcam maps don’t impress you because they look fancy. They impress you because they survive the stampede.
That survival comes from boring-but-smart choices: stable JSON metadata, predictable streaming formats like HLS, careful buffering settings, and fallback UI when the world gets chaotic.
When totality hits, the interface should disappear. The video should be there. Everything else is background noise—like clouds that never quite decide.
Comments (0)
No comments yet. Be the first to respond!
Leave a Comment
Your comment will be visible after review.