Reviving an Old reMarkable 2: fixing time, updates, and sync (via SSH)
 by ahsan
August 09, 2026
7 min read
by ahsan
August 09, 2026
7 min read
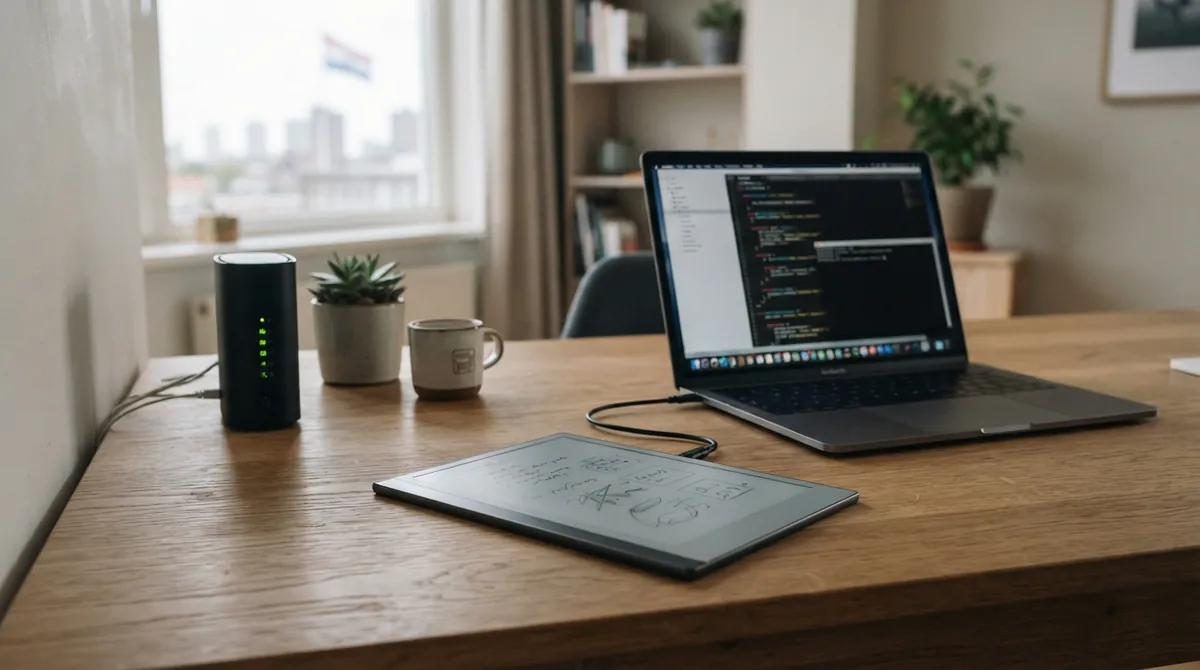
Picture this: you pull a reMarkable 2 out of a drawer that hasn’t seen daylight in years. The device powers up—e‑ink looks fine—but the cloud sync screen is stuck showing something like “error 0.” Then the software update button fails too.
That exact “four-year-stale tablet” feeling is surprisingly common. The good news is that most of the failure chain is deterministic: old firmware + a wildly incorrect clock + cloud/app compatibility rules. Once the tablet can boot into a sane time and reach a current software generation, everything starts behaving again.
Below is a practical, beginner-friendly walkthrough of a recovery path that doesn’t require guesswork. It’s written around SSH (Secure Shell) access to the device, which is the reliable way to inspect and fix an embedded Linux system when the UI is stuck.
What’s actually going wrong (the failure chain)
A reMarkable 2 runs a Linux-based operating system. When things go wrong after long storage, three culprits are usually in play:
- The clock is wrong. A device that thinks it’s 2019 (or 1970, or some random timestamp) can break TLS certificate validation. TLS is the encryption/auth layer HTTPS uses; the encryption handshake often refuses to work when time is wrong.
- The system software is too old for today’s cloud. Even if Wi‑Fi works, the cloud service may reject obsolete client versions.
- The update process stalls mid-way. Some update steps depend on networking (DNS) being available after reboot, so “update once” may land you in a partially-modern state that still can’t complete the upgrade.
The story below follows those steps in order: fix time → update → fix SSH access method → move files over a local web interface.
Step 1: SSH in, then fix the time with timedatectl
Why time matters
On Linux, date/time are managed by services that can either:
- Synchronize via NTP (Network Time Protocol), which is the common time-sync system used over the internet, or
- Keep a local clock without automatic correction.
When a reMarkable has been sitting for years, the clock can be badly wrong. In that situation, HTTPS calls (including the update downloader and cloud sync) can fail in strange ways.
SSH basics (what this command is doing)
The commands below assume you’re connected to the device via USB networking. SSH is a secure remote login tool. In this setup, the tablet is reachable at a local address such as 10.11.99.1.
Run:
On the tablet, the SSH password and IP addresses are usually shown under a help page in Settings (the device provides its own connection details).
Check current time and NTP status
timedatectl is the standard Linux tool for reading and setting system time.
timedatectl
Fix procedure that avoids time-setting errors
A reliable pattern is:
- Disable automatic NTP first, so manual setting is accepted.
- Set the time explicitly.
- Re-enable NTP.
timedatectl set-ntp 0
timedatectl set-time '2026-07-15'
timedatectl set-ntp 1
After doing this, the tablet was able to download an update—something it couldn’t do before.
Step 2: Update via system services (and why “update once” may not finish)
On reMarkable OS, updates are handled by background services. Linux distributions usually orchestrate these with systemd, a service manager.
systemctlstarts/stops/enables services.journalctlprints the system log output (journal) for a given service.
This matters because the UI can be unhelpful when things are failing, while the logs can say exactly what went wrong.
Look at logs for the sync failure
When cloud sync started returning an HTTP 400 after the first update, the next useful step was to inspect the service logs. A common command pattern is:
journalctl -u rm-sync.service --since '-45 min' --no-pager
The error message in that journal output typically tells you the cloud rejected the client because the app version is obsolete.
Restart update services to get a newer generation
On the next reboot, one updater component can sometimes start before Wi‑Fi/DNS are fully ready, and then never retries.
A practical workaround is to restart the update services and then re-check logs:
systemctl restart swupdate.service update-engine.service
systemctl is-active swupdate.service update-engine.service
journalctl --since '-1 min' -u swupdate.service -u update-engine.service
In the case that inspired this walkthrough, the tablet initially got stuck at an older software line after the first update, but after service restarts it offered a newer version and eventually reached the latest available generation.
Step 3: Expect SSH-over-Wi‑Fi to be disabled after updates
One of the most confusing things during recovery is when SSH worked yesterday, then stops working after a software update.
A common reason: newer OS versions tighten or disable network SSH behavior, so port 22 (the default SSH port) may no longer accept connections over Wi‑Fi.
In this situation, SSH over USB still tends to work because the USB networking is part of the recovery/access flow.
Re-enable Wi‑Fi SSH
The approach used in this recovery is to run the command that toggles SSH-over-Wi‑Fi:
rm-ssh-over-wlan on
If the command isn’t available (or doesn’t take effect), there’s often a marker file method. For example, a file like:
/home/root/.config/remarkable/rm_enable_ssh_wifi_marker
can be created so the system enables the behavior on boot.
Then verify the service and whether port 22 is listening:
systemctl is-active dropbear-wlan.socket
systemctl is-enabled dropbear-wlan.socket

ip -4 -brief address show wlan0
ss -lntp | grep ':22 ' || true
A key mental model: listening means a process is actually accepting TCP connections on that port. If SSH still fails, it’s usually no longer an authentication problem—it’s a networking/listener problem.
Step 4: Stop debugging cloud sync—use the tablet’s local web interface
Once the device is modern enough to accept SSH again, cloud sync can still be flaky for reasons that aren’t always worth chasing when the end goal is: “Get my files back.”
reMarkable OS includes a built-in, optional local web interface used for transferring documents. Think of it like a tiny internal web server that runs on the tablet.
When enabled, you can browse the tablet’s document list and upload PDFs over the local address (commonly 10.11.99.1) using curl.
Enable the web interface via xochitl.conf
The UI subsystem is called xochitl (the tablet’s document/app UI service). Its configuration file lives under xochitl.conf.
To enable the USB web interface, the recovery pattern is:
- Back up the current config.
- Ensure
WebInterfaceEnabled=trueis set. - Restart the
xochitl.service.
Example:
conf=/home/root/.config/remarkable/xochitl.conf
cp -p "$conf" "$conf.codex-backup-before-usb-web"

if grep -q '^WebInterfaceEnabled=' "$conf"; then
 sed -i 's/^WebInterfaceEnabled=.*/WebInterfaceEnabled=true/' "$conf"
else
 sed -i '/^\[General\]$/a WebInterfaceEnabled=true' "$conf"
fi

systemctl restart xochitl.service
grep '^WebInterfaceEnabled=' "$conf"
systemctl is-active xochitl.service
List documents
To confirm the server is responding, list the visible document entries:
curl --max-time 30 -sS http://10.11.99.1/documents/ | jq -r '.[].VisibleName'
This uses:
- curl to make HTTP requests.
- jq to parse JSON. JSON is a common “structured text” format used by APIs.
Upload PDFs
For each PDF, POST it to the upload endpoint. The example below also prints the HTTP status code and checks for 201, which indicates the server accepted and created the upload.
set -e
for file in./my-pdf-files/*.pdf; do
 name=${file##*/}
 status=$(curl --max-time 300 -sS -o /dev/null -w '%{http_code}' \
 -F "file=@${file};type=application/pdf" http://10.11.99.1/upload)
 printf '%s\t%s\n' "$status" "$name"
 test "$status" = 201
done
If that runs cleanly, the tablet is no longer trapped behind broken cloud sync logic. You’re effectively doing a local restore pipeline.
A recovery strategy that stays sane
When a device has been unused for years, it’s tempting to chase every error message. The pattern above keeps the work bounded:
- Fix clock so HTTPS works.
- Force updates to reach a modern OS line.
- When cloud sync remains unreliable, switch to local transfer.
The unglamorous truth is that the most time-saving move is often ignoring the broken feature and using a more reliable one.
And once you’ve got the ability to upload and export files again, the “revival” stops being an archaeology project and becomes a normal workflow.
Technical verification notes (for the key, factual details)
- The reMarkable community guide documents enabling SSH over Wi‑Fi on relevant OS versions using
rm-ssh-over-wlan on.
(remarkable.guide) - The community documentation also describes the USB web interface behavior and the local endpoints such as
/documents/and/upload.
() - The RCU documentation explains that SSH-over-Wi‑Fi must be enabled for system software 3.22+ (and it reiterates the “10.11.99.1 over USB” SSH connection defaults).
(davisr.me)
Comments (0)
No comments yet. Be the first to respond!
Leave a Comment
Your comment will be visible after review.