Your README Is an Interface—Test It Like One
 by ahsan
October 11, 2026
7 min read
by ahsan
October 11, 2026
7 min read
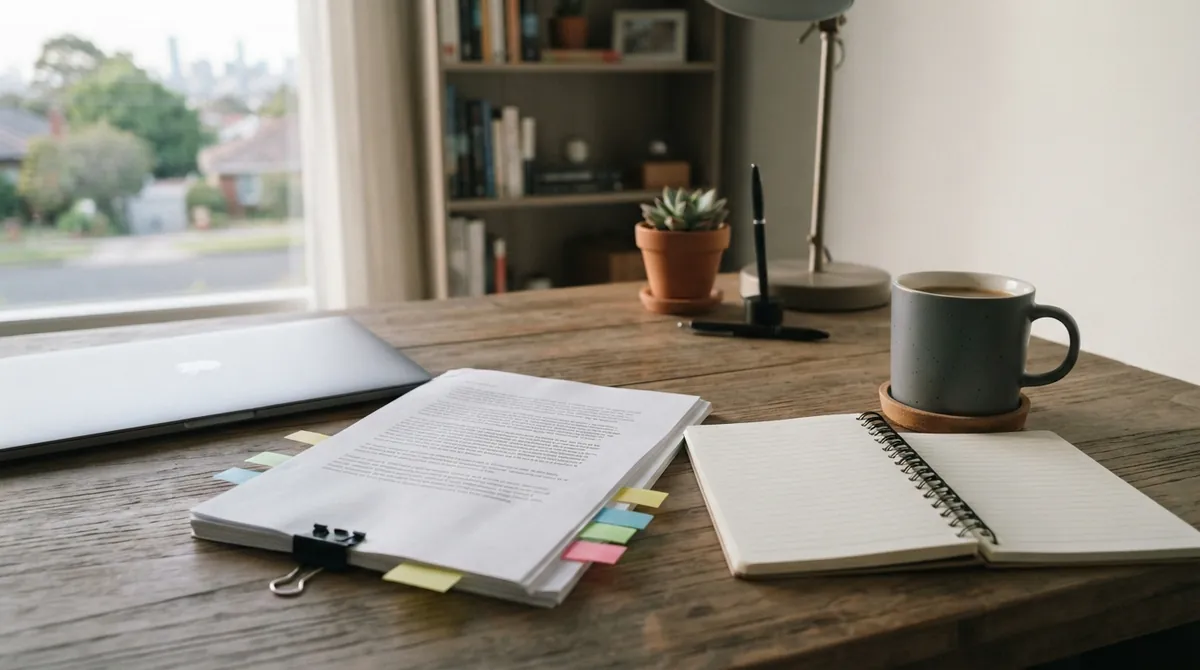
Your installation guide works. You know because you wrote it, ran it repeatedly, and absorbed all the invisible knowledge around it: which directory to open, which command needs administrator permission, which warning can be ignored, and what success is supposed to look like.
A newcomer has none of that context. They see a README, copy a command, and stop at a sentence such as ‘rename the example file.’ Rename it where? With which tool? Does the leading dot make it hidden? Is the file being copied, moved, or edited?
That gap is not a reader failure. It is a documentation bug.
A README is an interface between a project and a person. It has an entry point, a sequence of actions, error states, and a moment of success. Once you see it that way, README usability testing stops sounding like a luxury and starts sounding like normal quality control.
Start with the first successful moment
Before polishing your introduction or adding another badge, decide what a new user should accomplish first. Maybe they should launch a local server. Maybe they should generate a sample report. Maybe they should see one message proving the installation worked.
Build the README around that moment. Explain what the software does before asking someone to install it, name the prerequisites, then guide the reader through the shortest believable path to a result. A person should not have to understand your architecture before they can see the project doing something useful.
Small wording choices matter. Compare a vague instruction such as ‘rename the example file’ with an explicit command:
mv.env.example.env
mv is the command used to move or rename a file. The first path is the existing file; the second is the new name. The leading dot means that many file browsers treat .env as hidden, so the README should say where the file will be and how to show hidden files if the reader needs to edit it.
For a copy rather than a rename, show that difference plainly:
cp config.example.toml config.toml
Here, cp makes a second file and leaves the example in place. That small explanation prevents a reader from guessing, and guessing is where many installations go sideways.
Watch a stranger use it
How do you know whether a README works? Watch someone who did not write it use the instructions.
A moderated usability test is a session where you observe a person attempting a real task while you listen to their reasoning. For documentation, that task might be: ‘Starting with a freshly downloaded copy of this project, install it and run the smallest demo using only the README.’
Ask the participant to think aloud. That means they describe what they expect, what they are searching for, and why they chose one command instead of another. You are not asking for a review of the prose. You are watching the point where their mental model—their understanding of how the project works—separates from yours.
A useful opening script sounds like this:
This session is testing the instructions, not your technical ability.
Please say what you are looking for as you go.
If something is unclear, stop and describe what you expected to find.
Then resist the urge to rescue them. Stay quiet long enough to see what they try. When they pause, use neutral prompts such as ‘What are you looking for?’ or ‘What did you expect to happen here?’ Do not replace the confusing sentence with your own explanation halfway through the test; that hides the problem you are trying to find.
A remote session with screen sharing is enough for many projects. A focused session can fit into half an hour, although complex installations need longer. Recording can be useful, but ask for permission first and explain how the recording or notes will be used.
Pay for honest friction
Paying participants does not make their feedback more correct. It recognises that their time has value and makes the arrangement feel like research rather than a favour. A modest fee or voucher can buy an hour of attention, which is often cheaper than debugging the same onboarding issue through weeks of support requests.
Recruit people who resemble your audience. If the project targets Windows users, do not test only with Linux developers. If people may use screen readers, speech recognition, or a different level of digital experience, include those situations when they matter to the project.
Give participants enough information to make an informed choice, and let them stop at any point. If you need to record their screen or voice, say so clearly. Accessibility support, travel, or communication assistance may also belong in the research budget. Good usability testing should not create a new barrier for the people you want to learn from.
Use a clean machine, but keep the task real
Your main computer contains invisible scaffolding: previously installed tools, cached credentials, custom shell settings, shortcuts, and directories that happen to exist because you created them months ago. A fresh virtual machine—a computer simulated in software—or a separate user account removes much of that accidental help.
The goal is not to create an artificial obstacle course. Match the environment your real users are likely to have. If they normally clone a repository, start there. If the application expects a particular operating system or version of a runtime, state that before the first command.
Watch for dependencies the author forgot to mention. Is a service already running? Does the command require a different shell, a specific version of Python, or permission to write into a directory? Does the demo work locally but fail when opened from another device? These details are not side issues. They are part of the installation experience.
Write down moments, not verdicts
Avoid notes such as ‘the participant was confused.’ Record the observable moment instead:
- They searched the page for a download link that did not exist.
- They read ‘rename’ as editing the contents of a file.
- They copied a command from the wrong directory.
- They reached the final step but could not tell whether the program had succeeded.
Those notes point toward specific fixes. Add a before-and-after example. Name the directory. Show the expected URL. Include a sample output block. Explain a technical term the first time it appears. Move the first useful result above an advanced configuration section.
Humour deserves testing too. A joke that feels friendly to the author may look like an instruction, or may distract from a warning. The same applies to clever section names. Clarity is more valuable than proving that the writer has a personality.
Fix in small loops
After each session, change the README while the evidence is still fresh. Then run the same task with the next participant. This short loop is more revealing than collecting a pile of complaints and rewriting the entire document from memory.
One person may dislike a phrase because of personal taste. Several people stopping at the same command indicate a usability problem. A broken link, an unexplained permission request, or an unclear success signal deserves attention even when only one person encounters it, because the failure is objective.
A large language model (LLM), a text-generating artificial intelligence system, can still help review documentation. It can look for missing prerequisites, inconsistent terminology, or commands that appear out of order. But it cannot reproduce the hesitation of a real person using a different operating system, shell, reading style, or accessibility setup. Use automated review as another pair of eyes, not as a substitute for real hands on a keyboard.
What a tested README should make clear
A strong README usually answers these questions without forcing the reader to hunt:
- What does this project do, and who is it for?
- What must be installed before starting?
- What are the exact steps from a clean environment?
- What should the reader see when each important step works?
- Where are configuration files, logs, and generated files located?
- What should someone try when the expected result does not appear?
- Where should they go after the first successful run?
The document does not need to contain every detail. Longer explanations can live in dedicated guides. The README does need to get a new user moving without relying on the author’s private memory.
Documentation quality is not measured by how impressive the prose sounds. It is measured by how little guessing remains. A few paid sessions, a shared screen, and the courage to stay quiet can reveal more than another afternoon spent polishing sentences. Your README becomes trustworthy when it survives someone else’s hands.
Comments (0)
No comments yet. Be the first to respond!
Leave a Comment
Your comment will be visible after review.